Lists are how you organise your contacts into targeted audiences. When you send a campaign, you choose a list — so every contact on that list receives the message. Well-organised lists mean more relevant messages, higher engagement, and fewer unsubscribes.
Static vs Dynamic Lists
Monster SMS supports two types of lists:
📌 Static Lists
A fixed group of contacts. Contacts are added manually or via import and stay in the list until you remove them. Best for: one-off campaigns, event attendees, specific customer groups.
⚡ Dynamic Lists
A list that automatically updates based on tag rules or filters. Contacts join or leave the list automatically as their details change. Best for: ongoing segments like "VIP customers" or "contacts in Brisbane".
💡 Tip: Start with static lists if you're just getting started. Move to dynamic lists once you're tagging contacts consistently.
Creating a New List
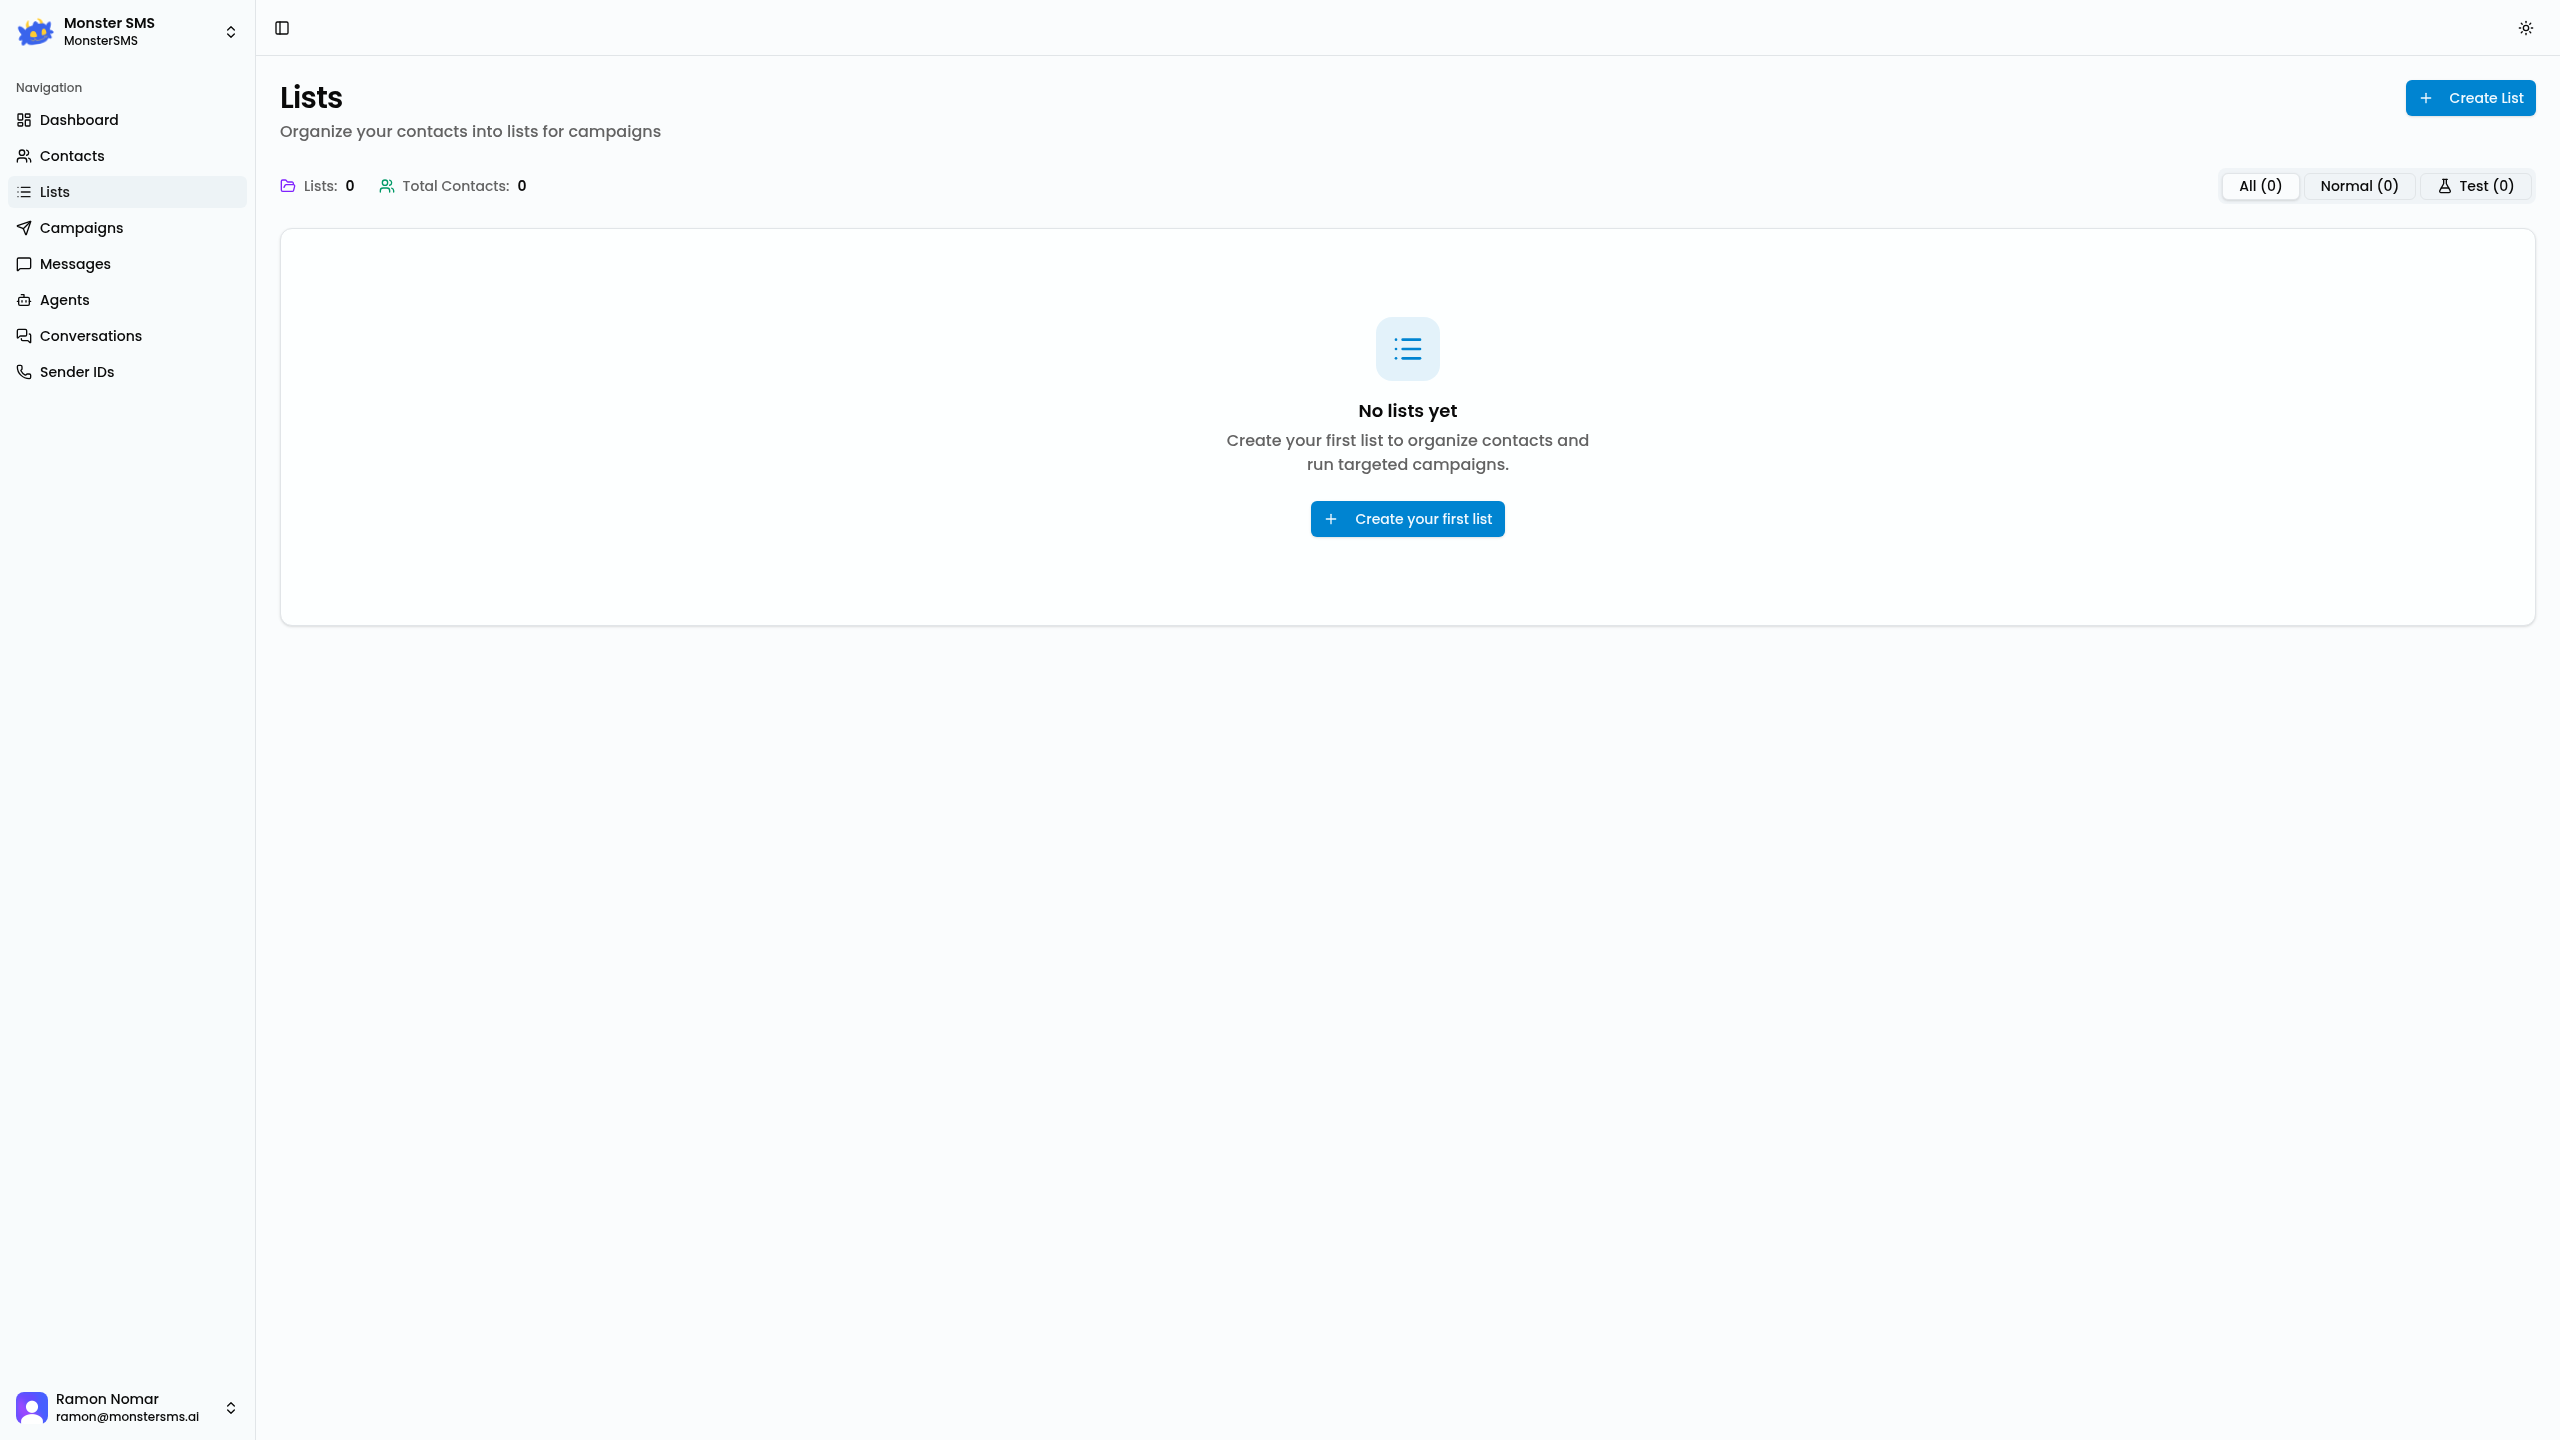
Go to Lists
Click Lists in the left navigation sidebar.
Click "Create List"
Click the + Create List button in the top right corner.
Name your list
Give the list a clear, descriptive name. Good examples: "Sydney Customers Q1 2026", "VIP Members", "Trade Show Leads Feb 2026". Avoid vague names like "List 1".
Choose list type
Select Static or Dynamic. For dynamic lists, you'll define the rules (e.g., "include all contacts with tag = VIP").
Save
Click Create List. Your new list will appear in the Lists section, initially empty (for static lists) or auto-populated (for dynamic lists).
Adding Contacts to a List
Option 1: Add contacts manually
Open the list
Click the list name to open it. You'll see the list's contacts and a toolbar.
Click "Add Contacts"
Click Add Contacts. A search panel opens where you can search your existing contacts by name, number, or tag.
Select and save
Tick the contacts you want to add, then click Add to List. They'll appear in the list immediately.
Option 2: Import directly to a list
When importing a CSV file, you can choose to add those contacts directly to an existing list (or create a new one during import). On the import screen, look for the Add to List option and select your list before confirming the import.
Option 3: Add from a contact profile
Open any contact's profile, scroll to the Lists section, and click Add to List. Select the list and save. This is useful when you want to add a single contact to multiple lists.
Using Lists as Campaign Audiences
When you create a campaign, you'll be asked to choose an audience. Lists are your primary audience option. Here's how it works:
- Select a list → the campaign sends to every contact on that list
- You can select multiple lists → contacts appearing in multiple lists receive the message only once (deduplication is automatic)
- Unsubscribed contacts on the list are automatically excluded
- The campaign preview shows the estimated recipient count based on your selected lists
Best practice: Always send a test message before blasting to a large list. Use the Send Test option in the campaign composer to preview the message on your own phone.
Removing Contacts from a List
To remove a contact from a list, open the list, find the contact, and click the remove (×) button next to their name. This removes them from the list only — it does not delete the contact from your account.
To remove all contacts from a list at once (clearing the list without deleting it), open the list settings and choose Clear List.
Deleting a List
To delete a list, open it and click Delete List in the list settings. This removes the list and its membership records — it does not delete the underlying contacts. Contacts remain in your database.