Your contact list is the foundation of everything you do in Monster SMS. This guide covers how to import contacts via CSV, add them manually, search and filter your database, view contact history, and keep your list clean and compliant.
Accessing Your Contacts
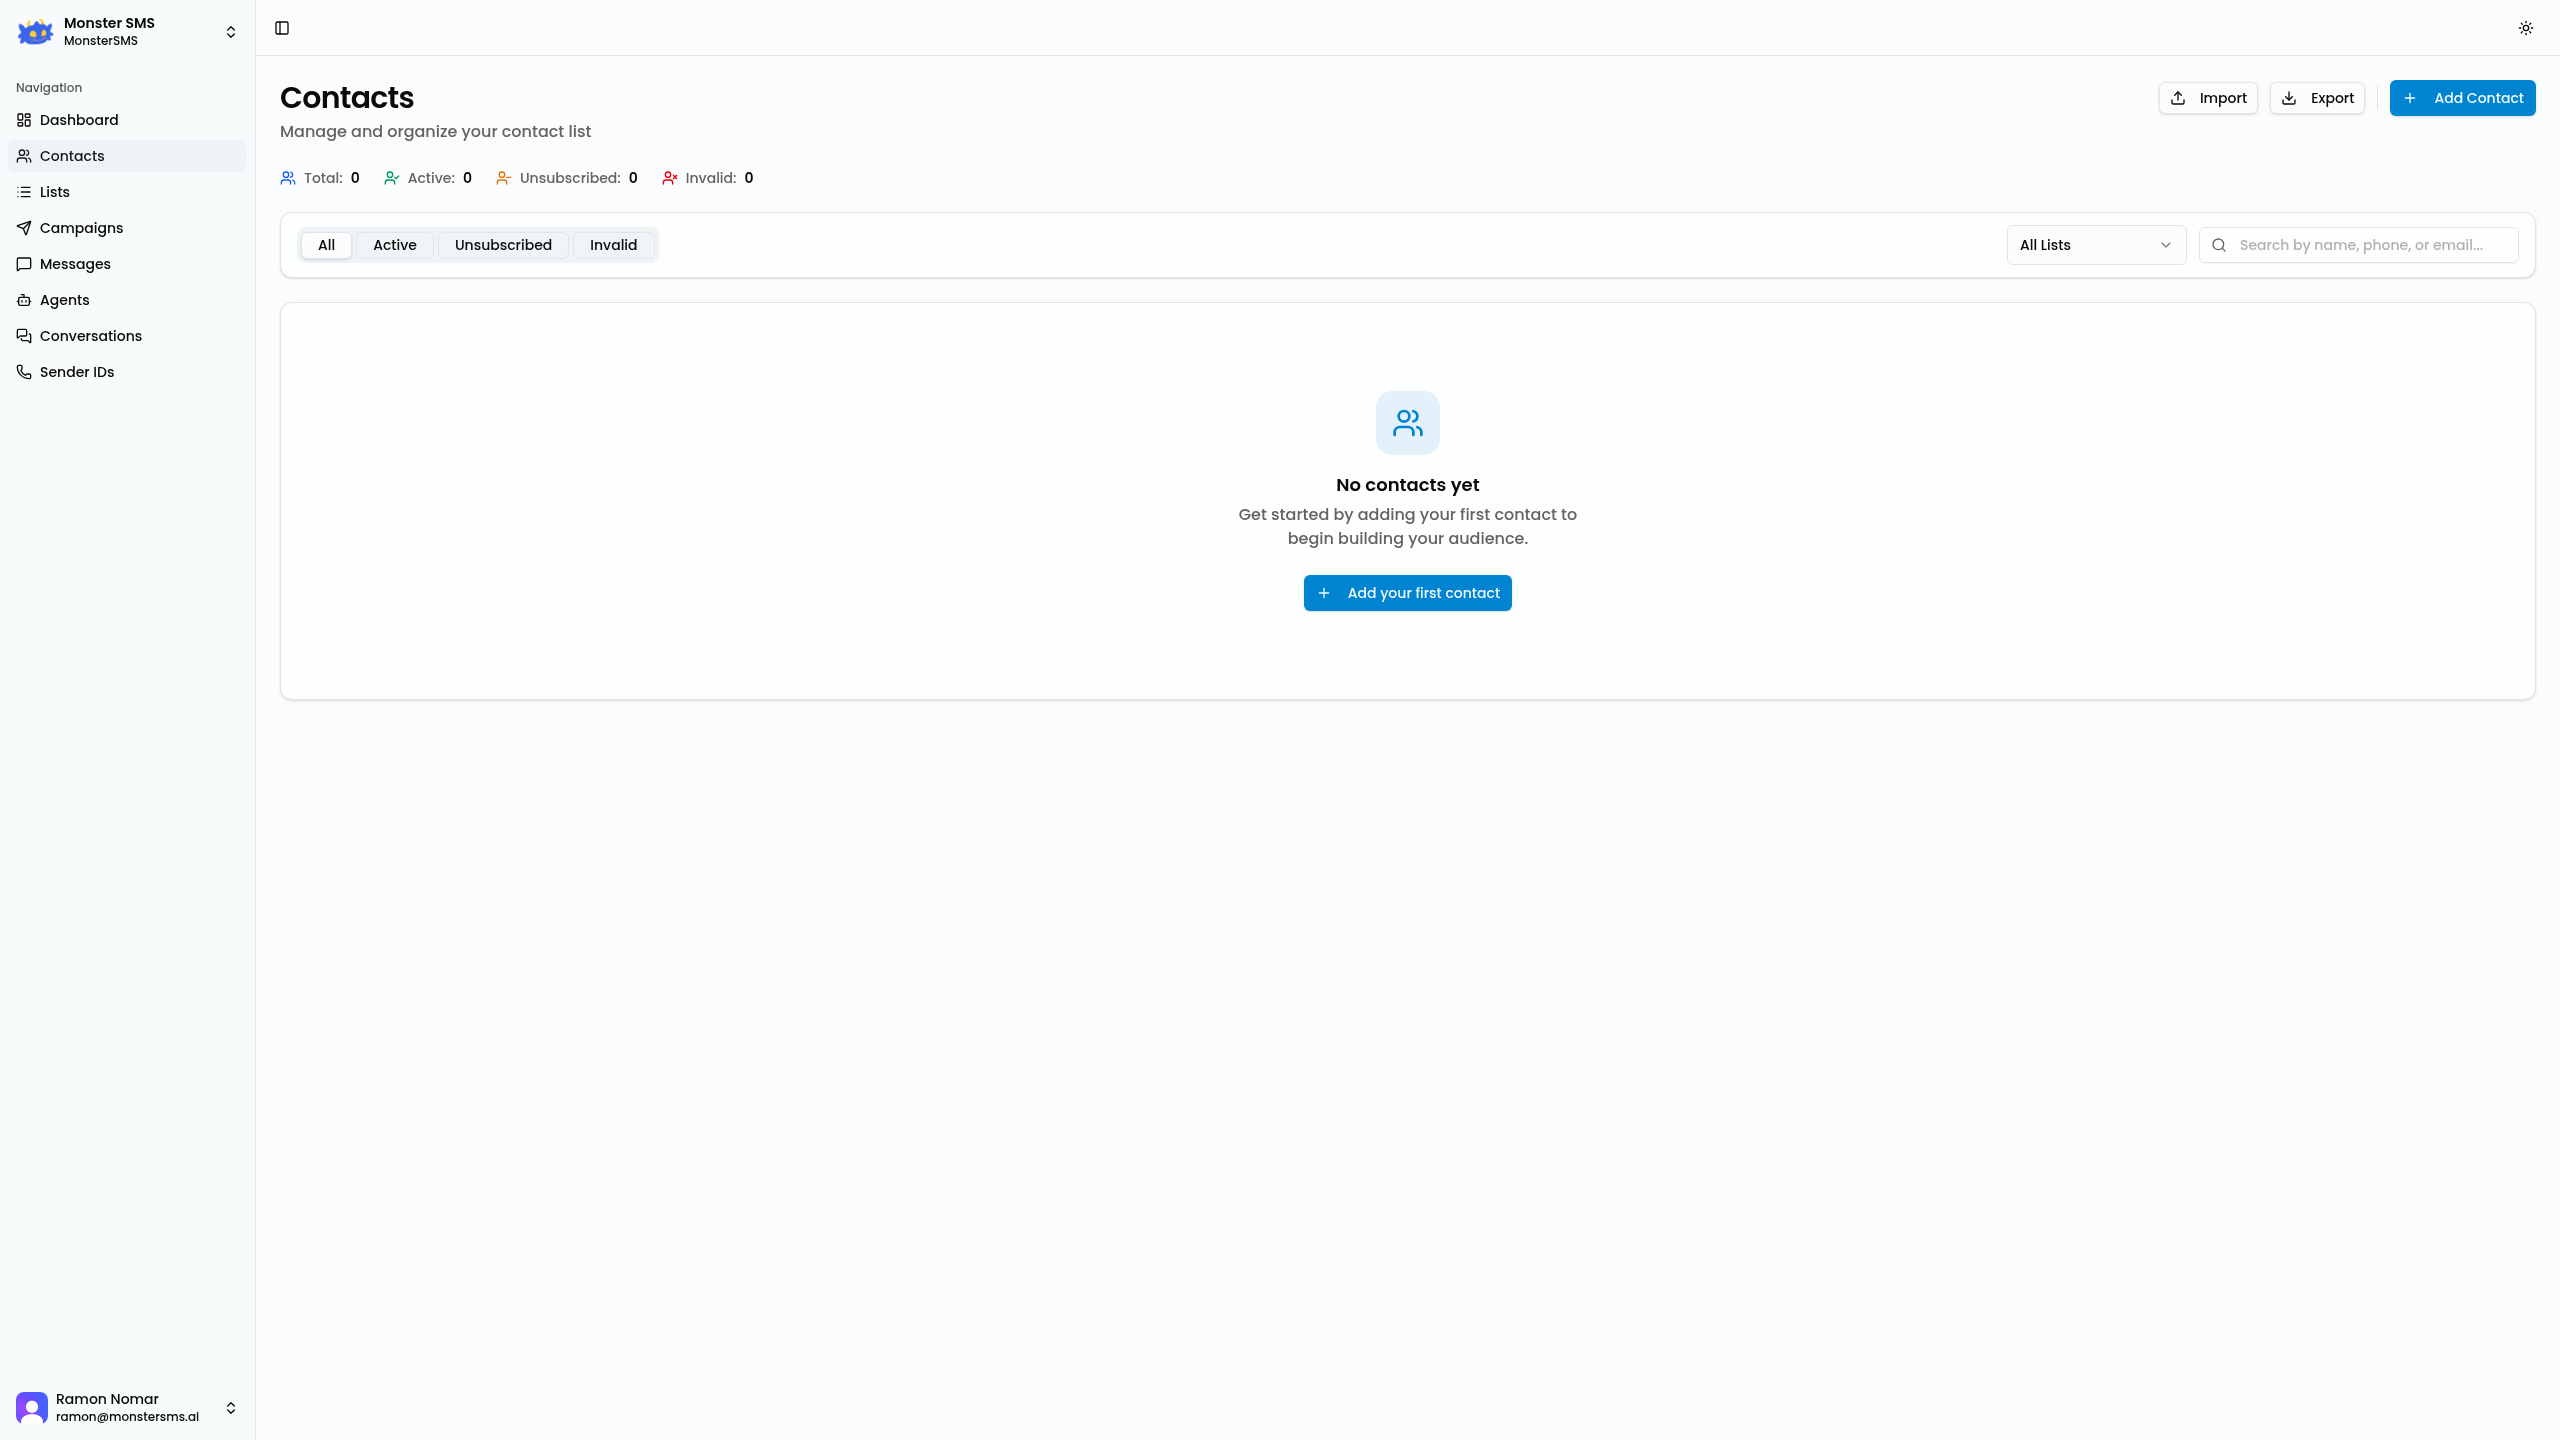
Click Contacts in the left navigation sidebar. You'll see a table of all contacts in your account, sortable by name, mobile number, date added, and last activity.
Importing Contacts via CSV
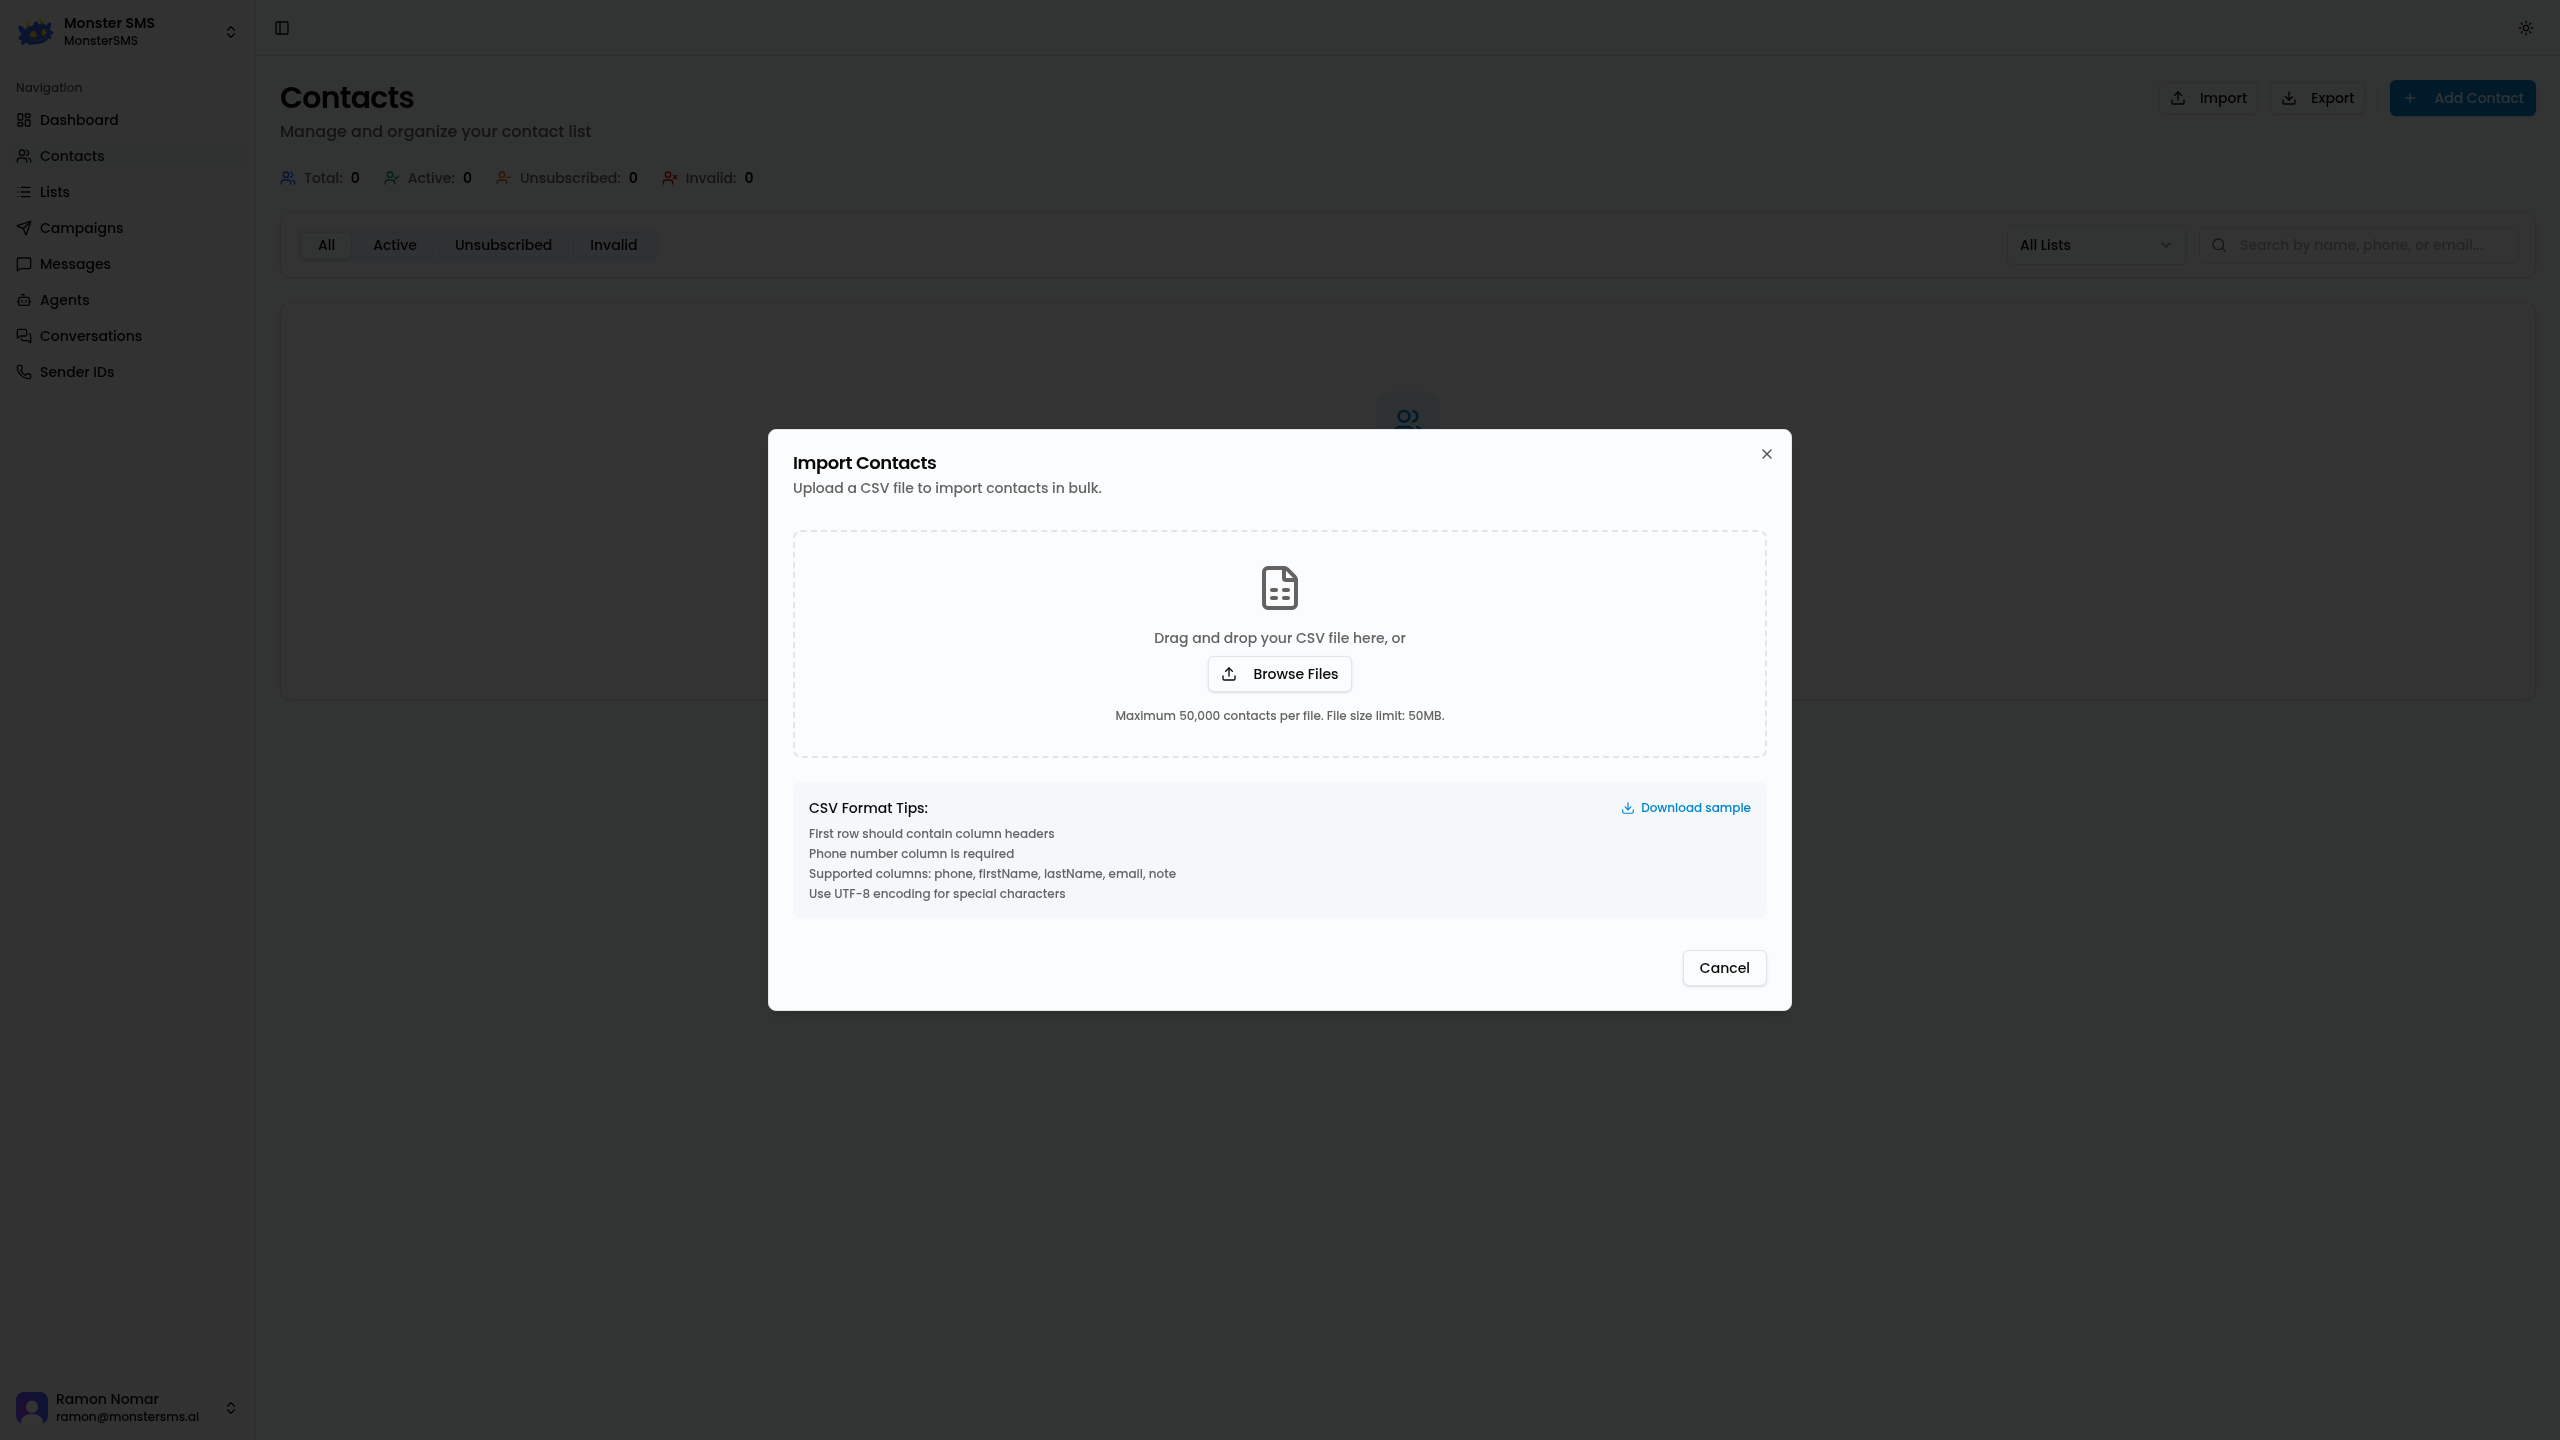
If you already have a list of customers or subscribers, CSV import is the fastest way to get them into Monster SMS. Here's how:
Prepare your CSV file
Open your spreadsheet and make sure you have at minimum a column for mobile number. Other useful columns: first name, last name, email, and tags. Save as a .csv file.
Click "Import Contacts"
In the Contacts section, click the Import button in the top right. Select your CSV file from your computer.
Map your columns
Monster SMS will show you a preview of your file and ask you to map each column to the correct field. Match your spreadsheet columns to the fields below:
| Your CSV column | Map to field | Required? |
|---|---|---|
| Mobile / Phone / Cell | Mobile Number | ✅ Required |
| First Name / Given Name | First Name | Optional |
| Last Name / Surname | Last Name | Optional |
| Email / Email Address | Optional | |
| Tags / Labels / Groups | Tags | Optional |
Review and confirm
Monster SMS will show you a summary: how many contacts will be imported, how many are duplicates (will be skipped), and any rows with errors. Review the preview, then click Import.
Import complete
You'll see a success notification with the number of contacts imported. Large imports (10,000+ contacts) may take a minute or two — you'll receive an email when it's done.
⚠️ Australian number format: Mobile numbers should be in Australian format — either 04XX XXX XXX or +614XX XXX XXX. Monster SMS will attempt to auto-format numbers, but it's best to normalise them in your CSV before importing.
Adding a Contact Manually
To add a single contact without a CSV:
Click "Add Contact"
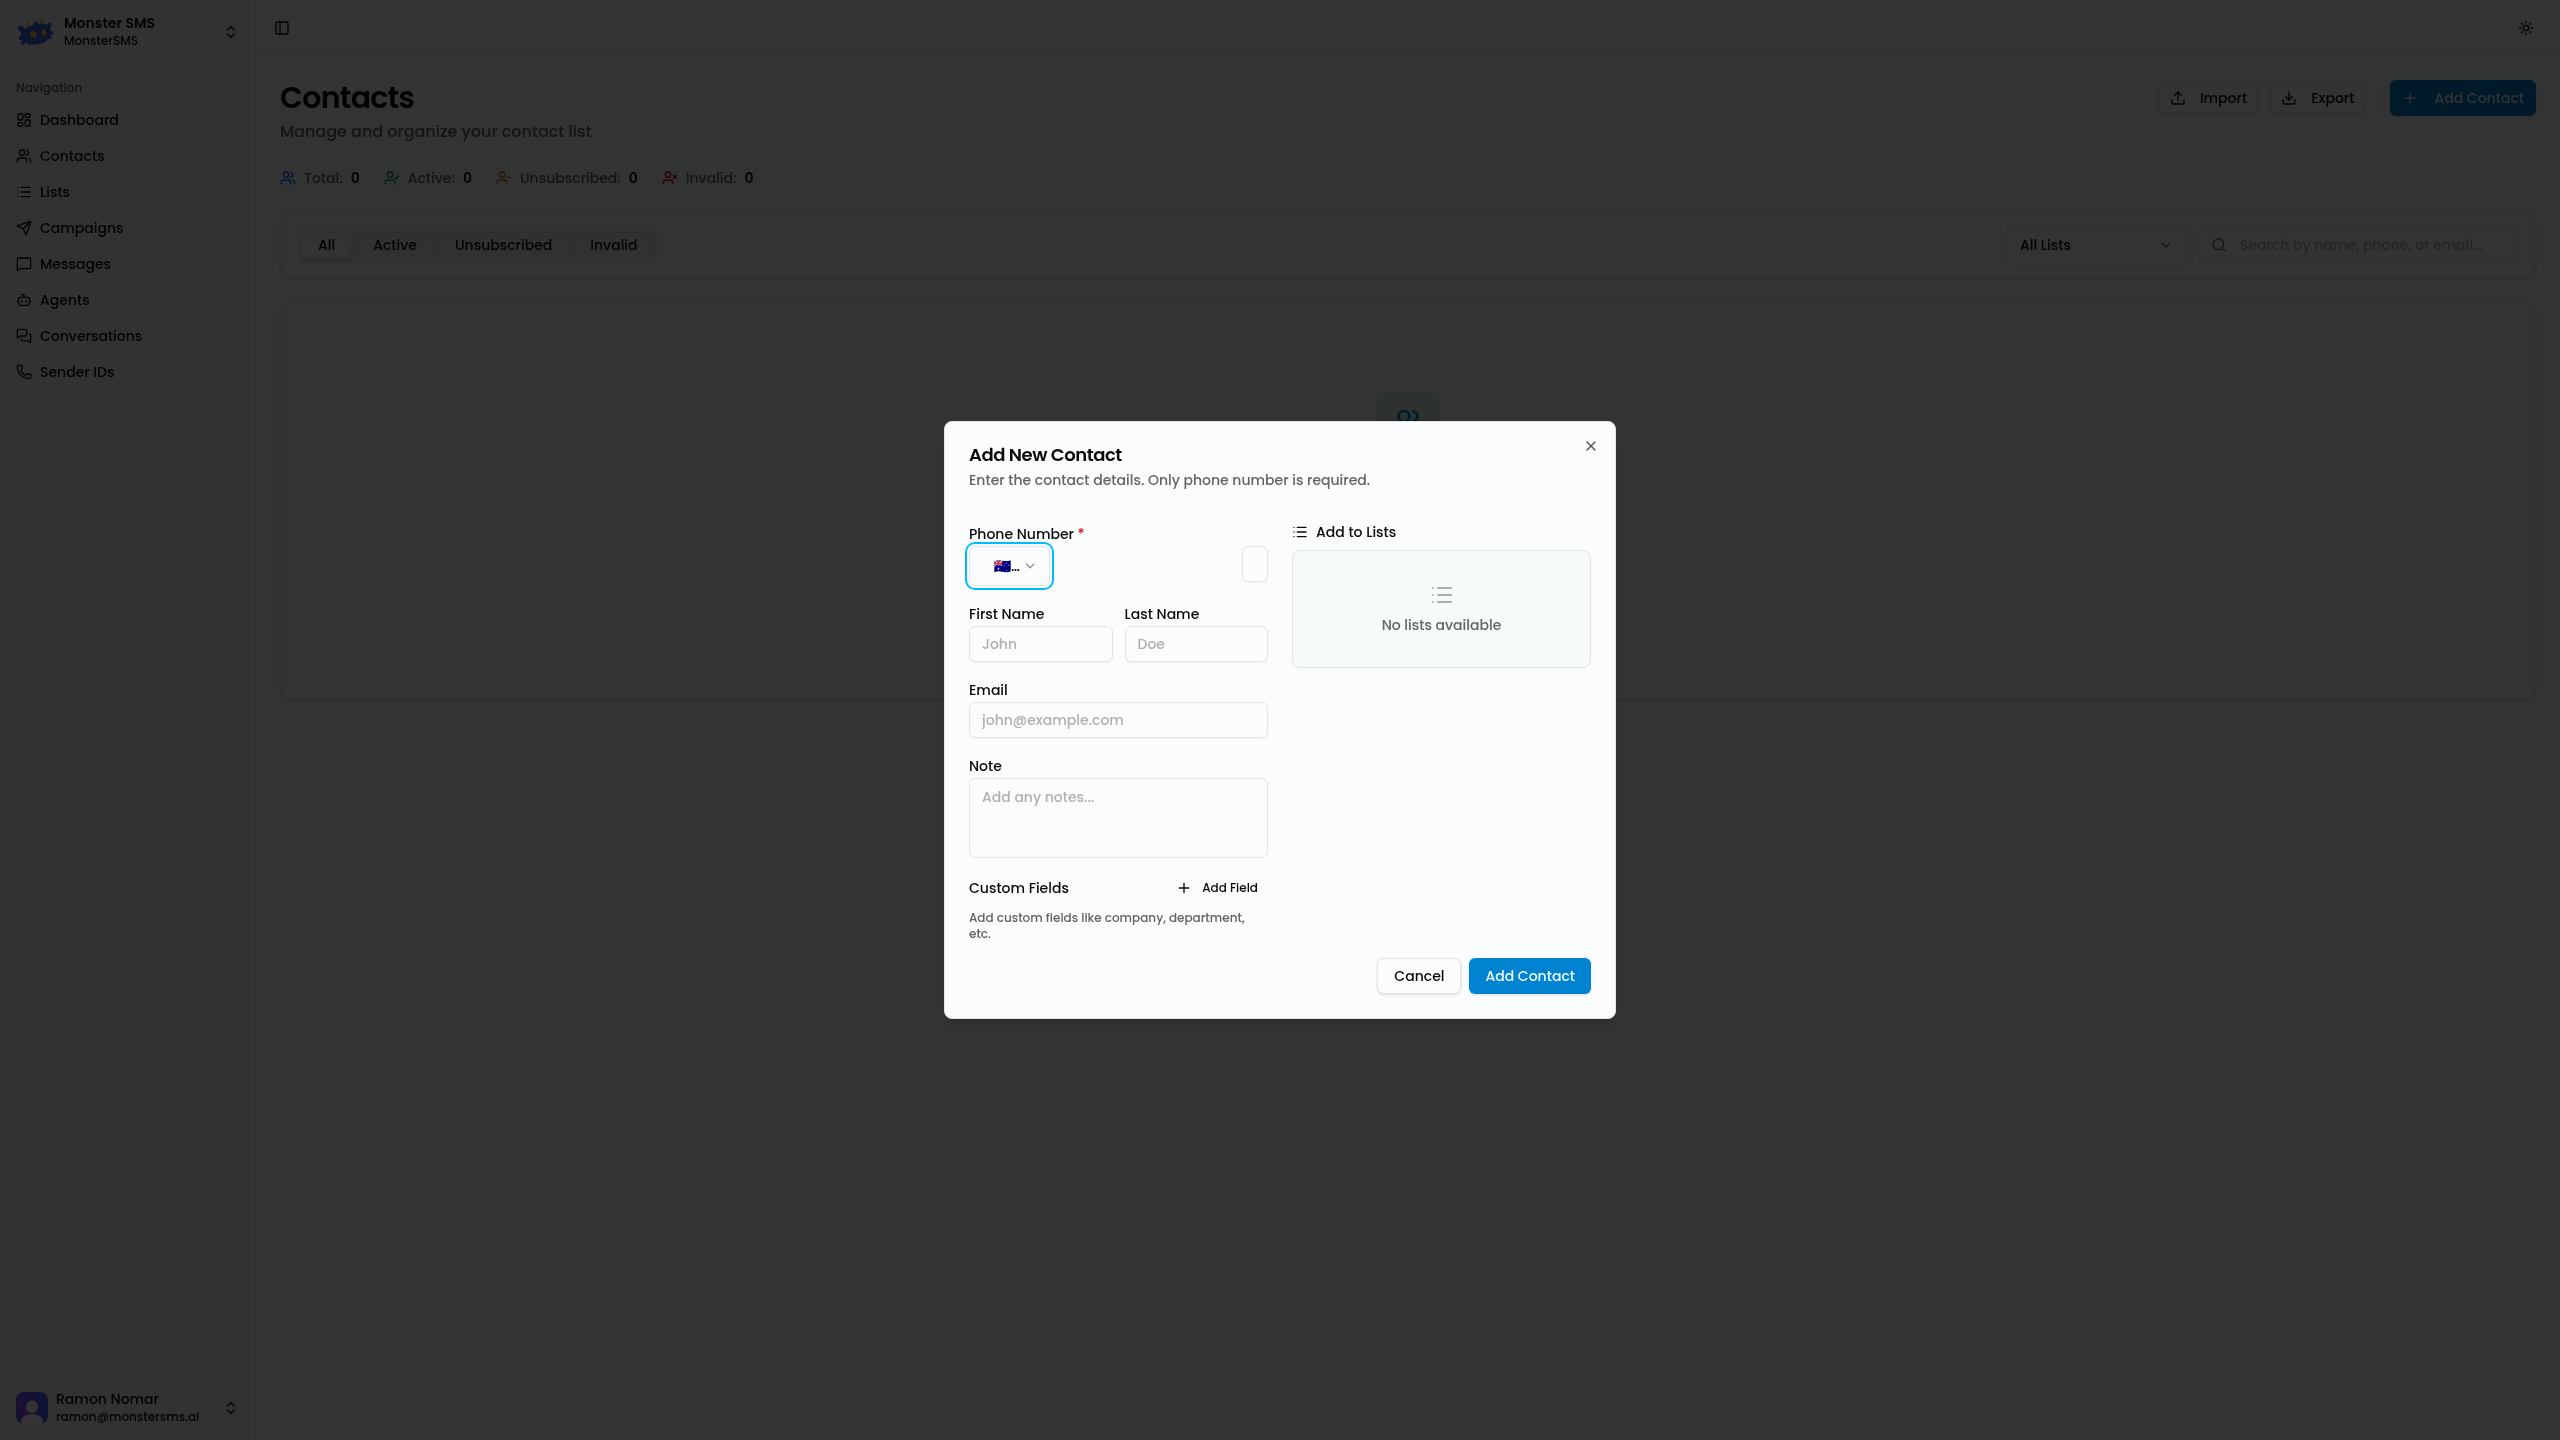
In the Contacts page, click + Add Contact (or use the quick-action button on the dashboard).
Fill in the details
Enter the contact's mobile number (required), first name, last name, email, and any tags. Tags are free-text labels you can use to segment and filter contacts.
Save
Click Save Contact. The contact will appear in your list immediately and is ready to be added to lists and included in campaigns.
Searching and Filtering Contacts
As your contact list grows, the search and filter tools become essential:
Search
Use the search bar at the top of the Contacts page to find contacts by name, mobile number, or email. Results update as you type.
Filter by tag
Click the Filter button and select one or more tags to show only contacts with those tags. This is useful for quickly finding a segment (e.g., all contacts tagged "VIP" or "Sydney").
Filter by list
Filter contacts by which list they belong to. Helpful when you want to see all members of a specific audience.
Viewing Contact History
Click any contact's name to open their profile. The contact profile shows:
- Contact details — Name, mobile, email, tags, date added
- Message history — Every SMS sent to and received from this contact, in chronological order
- Campaign history — Which campaigns this contact received
- Lists — Which lists this contact belongs to
- Notes — Internal notes added by your team
💡 Tip: Use the Notes field on a contact profile to record context that helps your team. For example: "Prefers morning messages", "VIP customer — handle with care", or "Opted in via store sign-up form on 12/02/2026".
Editing a Contact
To update a contact's details, open their profile and click the Edit button (pencil icon). Update any field and save. Changes take effect immediately — the next message to this contact will use the updated details.
Deleting a Contact
To delete a contact, open their profile and click Delete Contact. You'll be asked to confirm. Deletion is permanent — the contact and their entire history will be removed from your account.
⚠️ Unsubscribed contacts: If a contact replies STOP to one of your messages, they're automatically marked as unsubscribed — not deleted. Unsubscribed contacts remain in your database but will never receive messages from you again. This is required under the Spam Act 2003. Do not delete unsubscribed contacts, as you need to retain their opt-out record.
Managing Duplicate Contacts
Monster SMS automatically deduplicates by mobile number during import. If you try to import a contact with a number that already exists, it will be skipped (or optionally merged, depending on your import settings).
To manually find and merge duplicates, use the Duplicates tool in Contacts settings. It scans for contacts sharing the same mobile number or email and lets you merge them.
Start building your contact list
Import your first contacts and send your first campaign today.
Start Free →