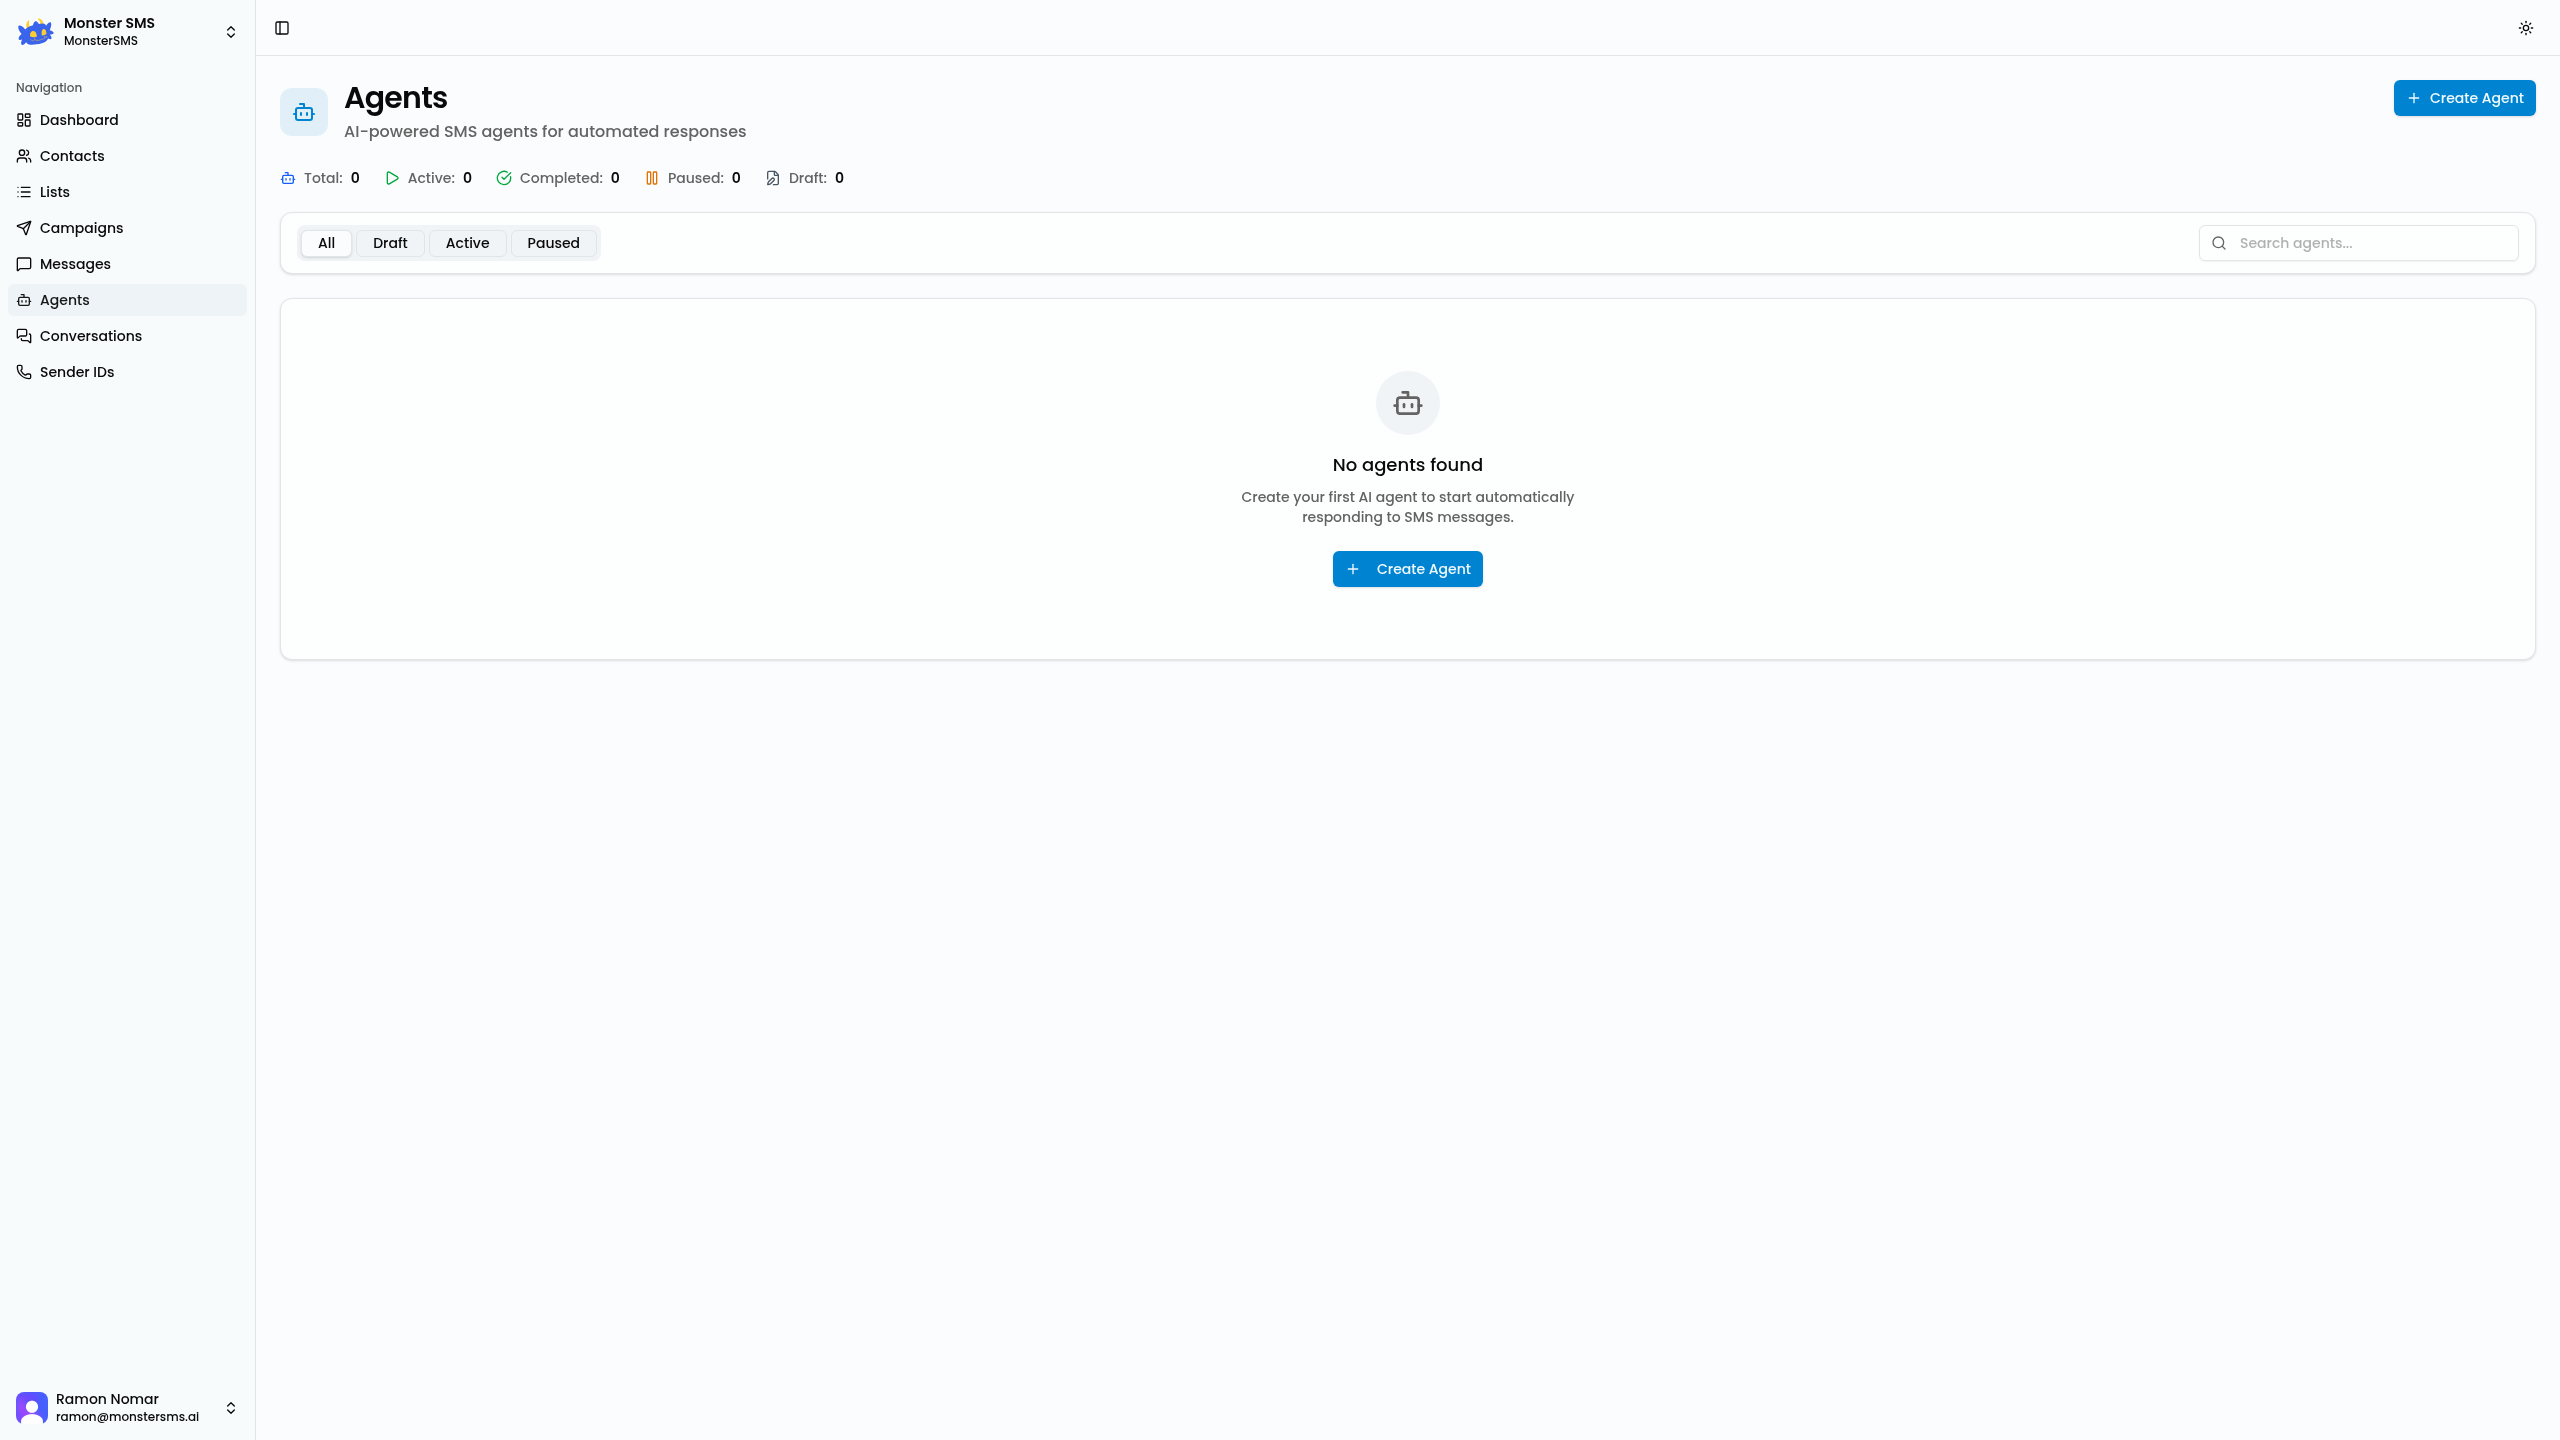
AI Agents are Monster SMS's most powerful feature. They let you create virtual assistants that automatically reply to incoming SMS messages on behalf of your business — 24/7, without any coding required.
This guide walks you through creating your first agent, writing an effective system prompt, and activating it on your number.
What is an AI Agent?
An AI Agent is a customisable chatbot that reads incoming SMS messages and generates intelligent, contextual replies based on instructions you provide. You define the agent's name, personality, and knowledge — Monster SMS handles the rest.
💡 Use cases: Appointment booking queries, FAQs, after-hours responses, lead qualification, customer support triage, and real estate enquiries.
Step 1: Open the Agents section
Click Agents in the left sidebar. You'll see your existing agents (if any) or a prompt to create your first one.
Step 2: Click "Create Agent"
Click the Create Agent button in the top right. This opens the agent builder.
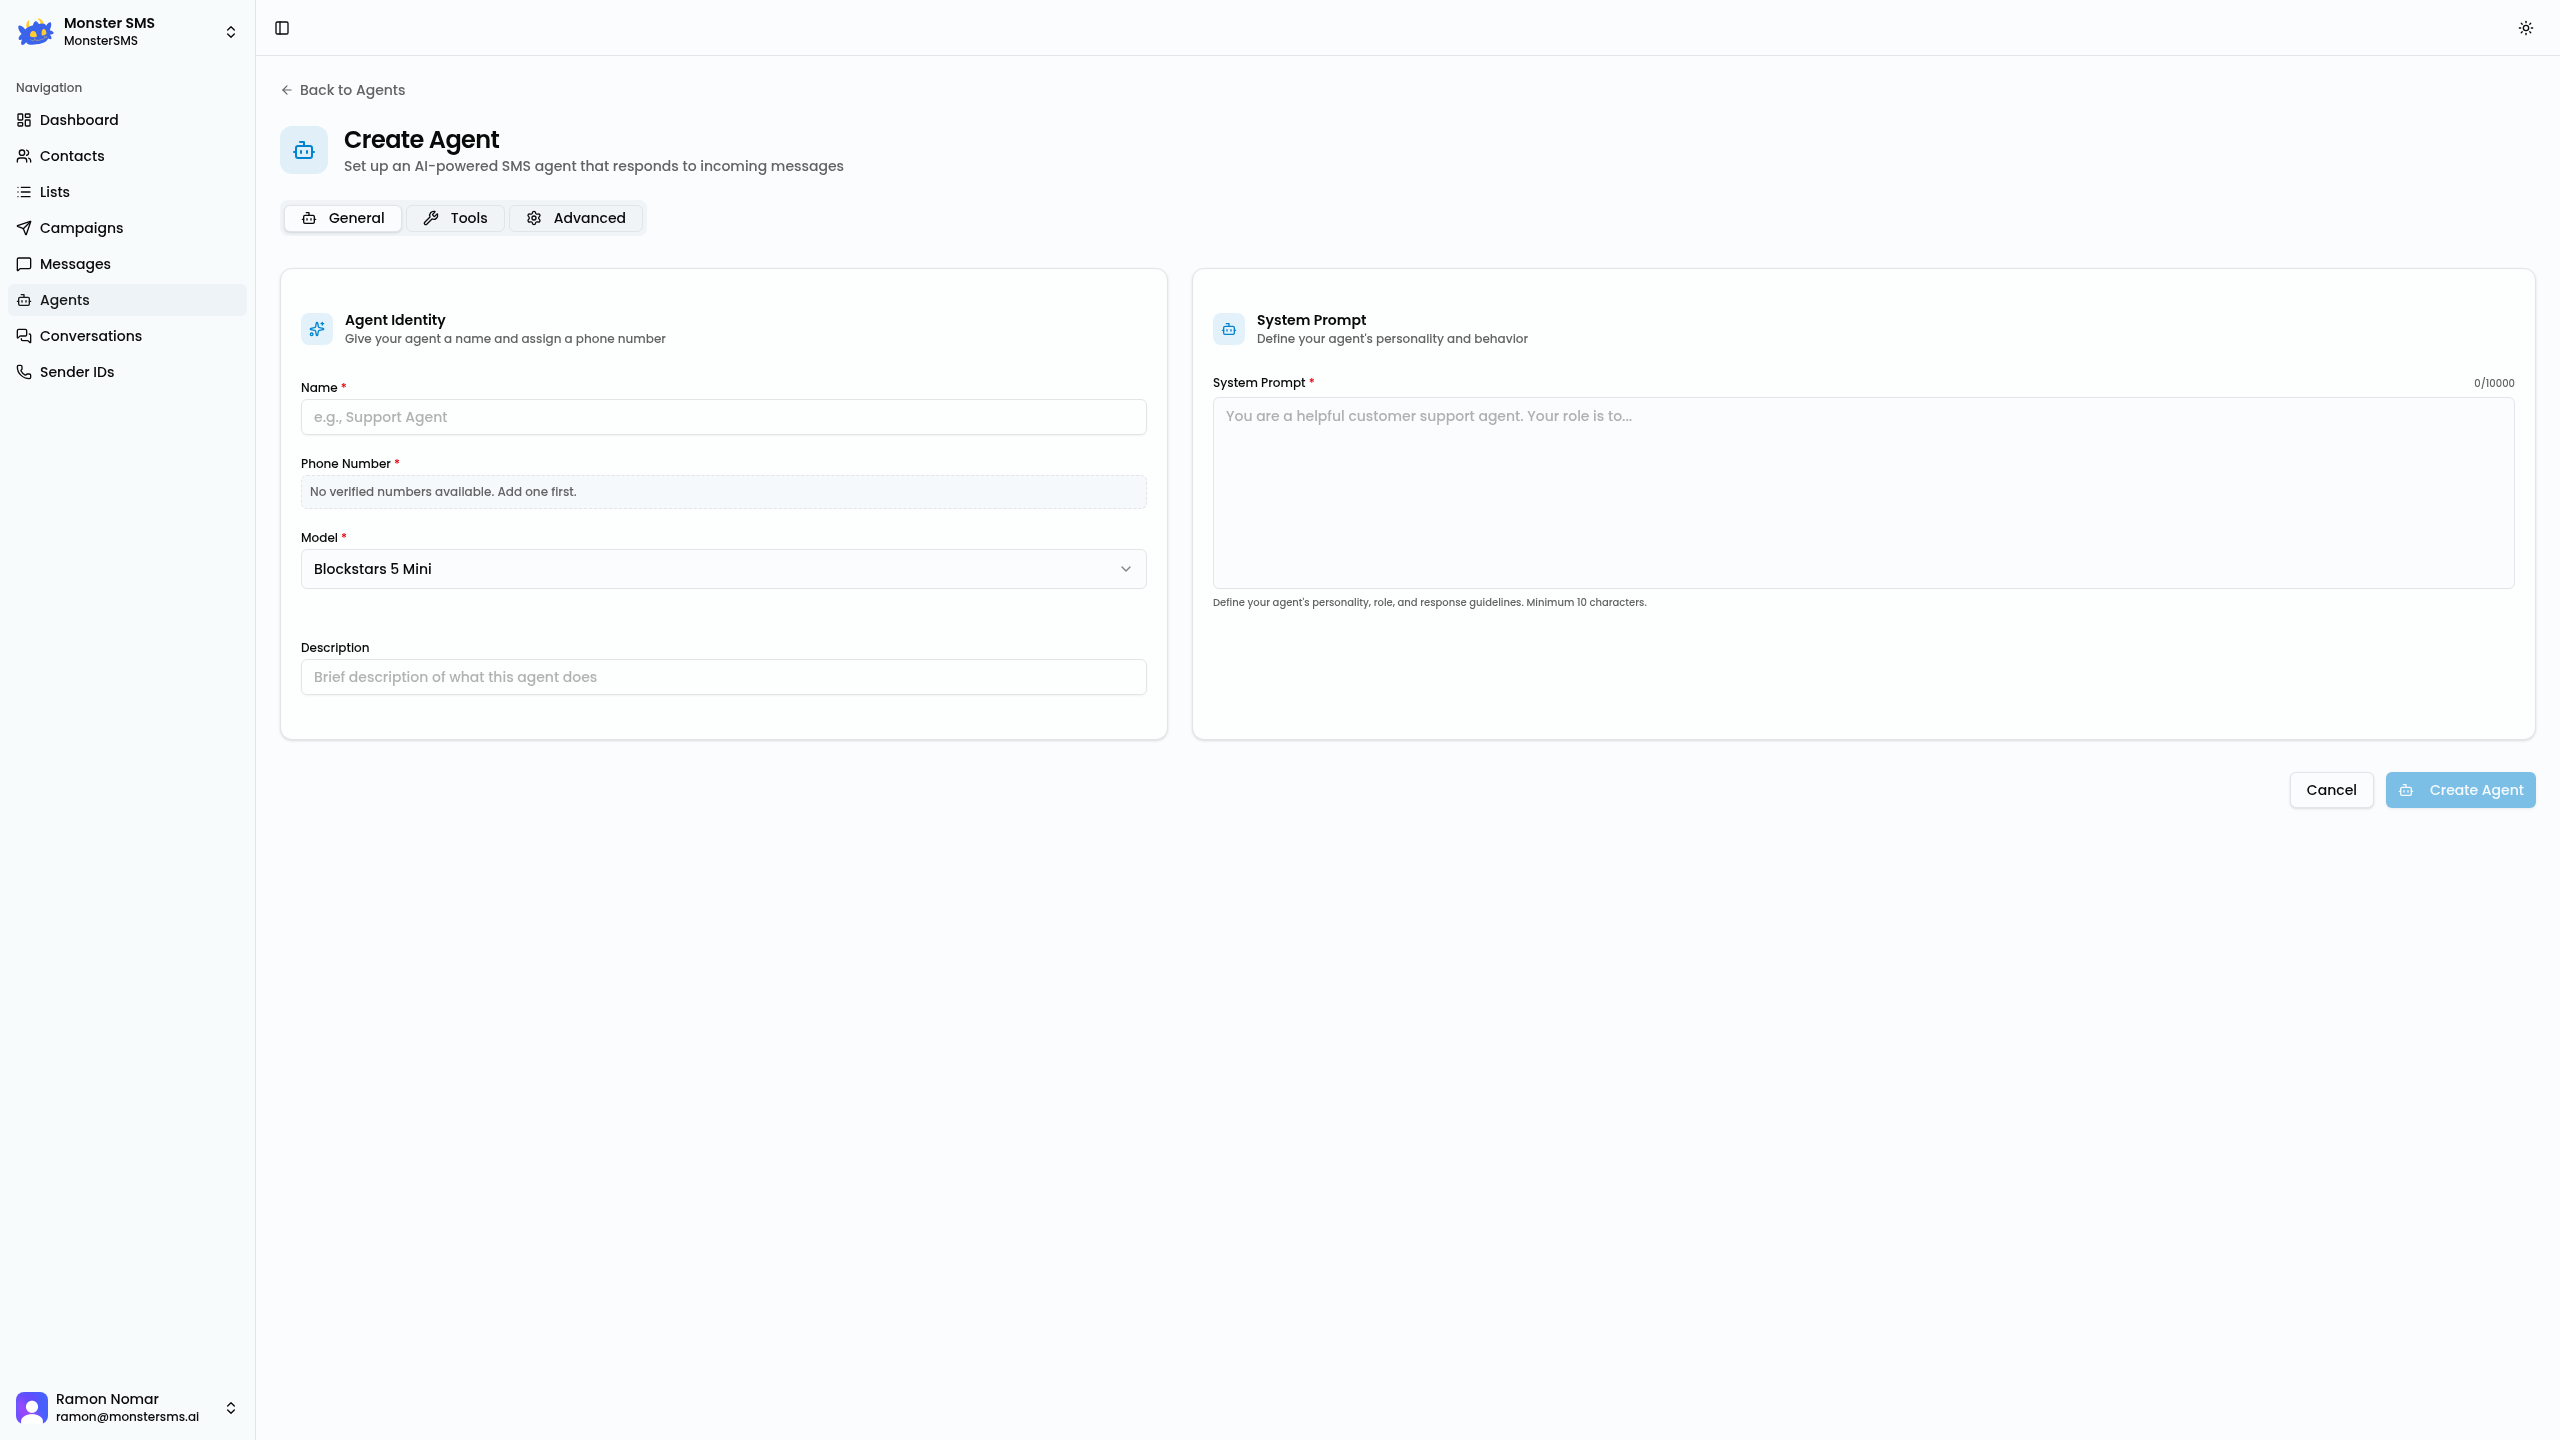
Step 3: Fill in the General tab
The General tab is where you define the core of your agent:
- Name — Give your agent a name (e.g. "Sophie", "Booking Assistant"). This is internal — customers won't see it.
- Model — Choose the AI model. GPT-4o is recommended for most businesses. More capable models give better replies.
- Description — A short note about what this agent does (for your reference).
- System Prompt — This is the most important field. It tells the agent who it is, what it knows, and how to respond.
📝 System Prompt example:
"You are Sarah, a friendly customer service assistant for Bella Hair Studio in Brisbane. You help customers with booking enquiries, opening hours, and pricing. Our salon is open Monday to Saturday, 9am to 6pm. We offer haircuts from $65, colour from $120, and blowouts from $50. To book, ask customers for their name, preferred service, and availability, then let them know you'll confirm shortly. Always be warm, professional, and concise. Keep replies under 3 sentences."
Step 4: Configure Tools (optional)
Click the Tools tab to add capabilities to your agent:
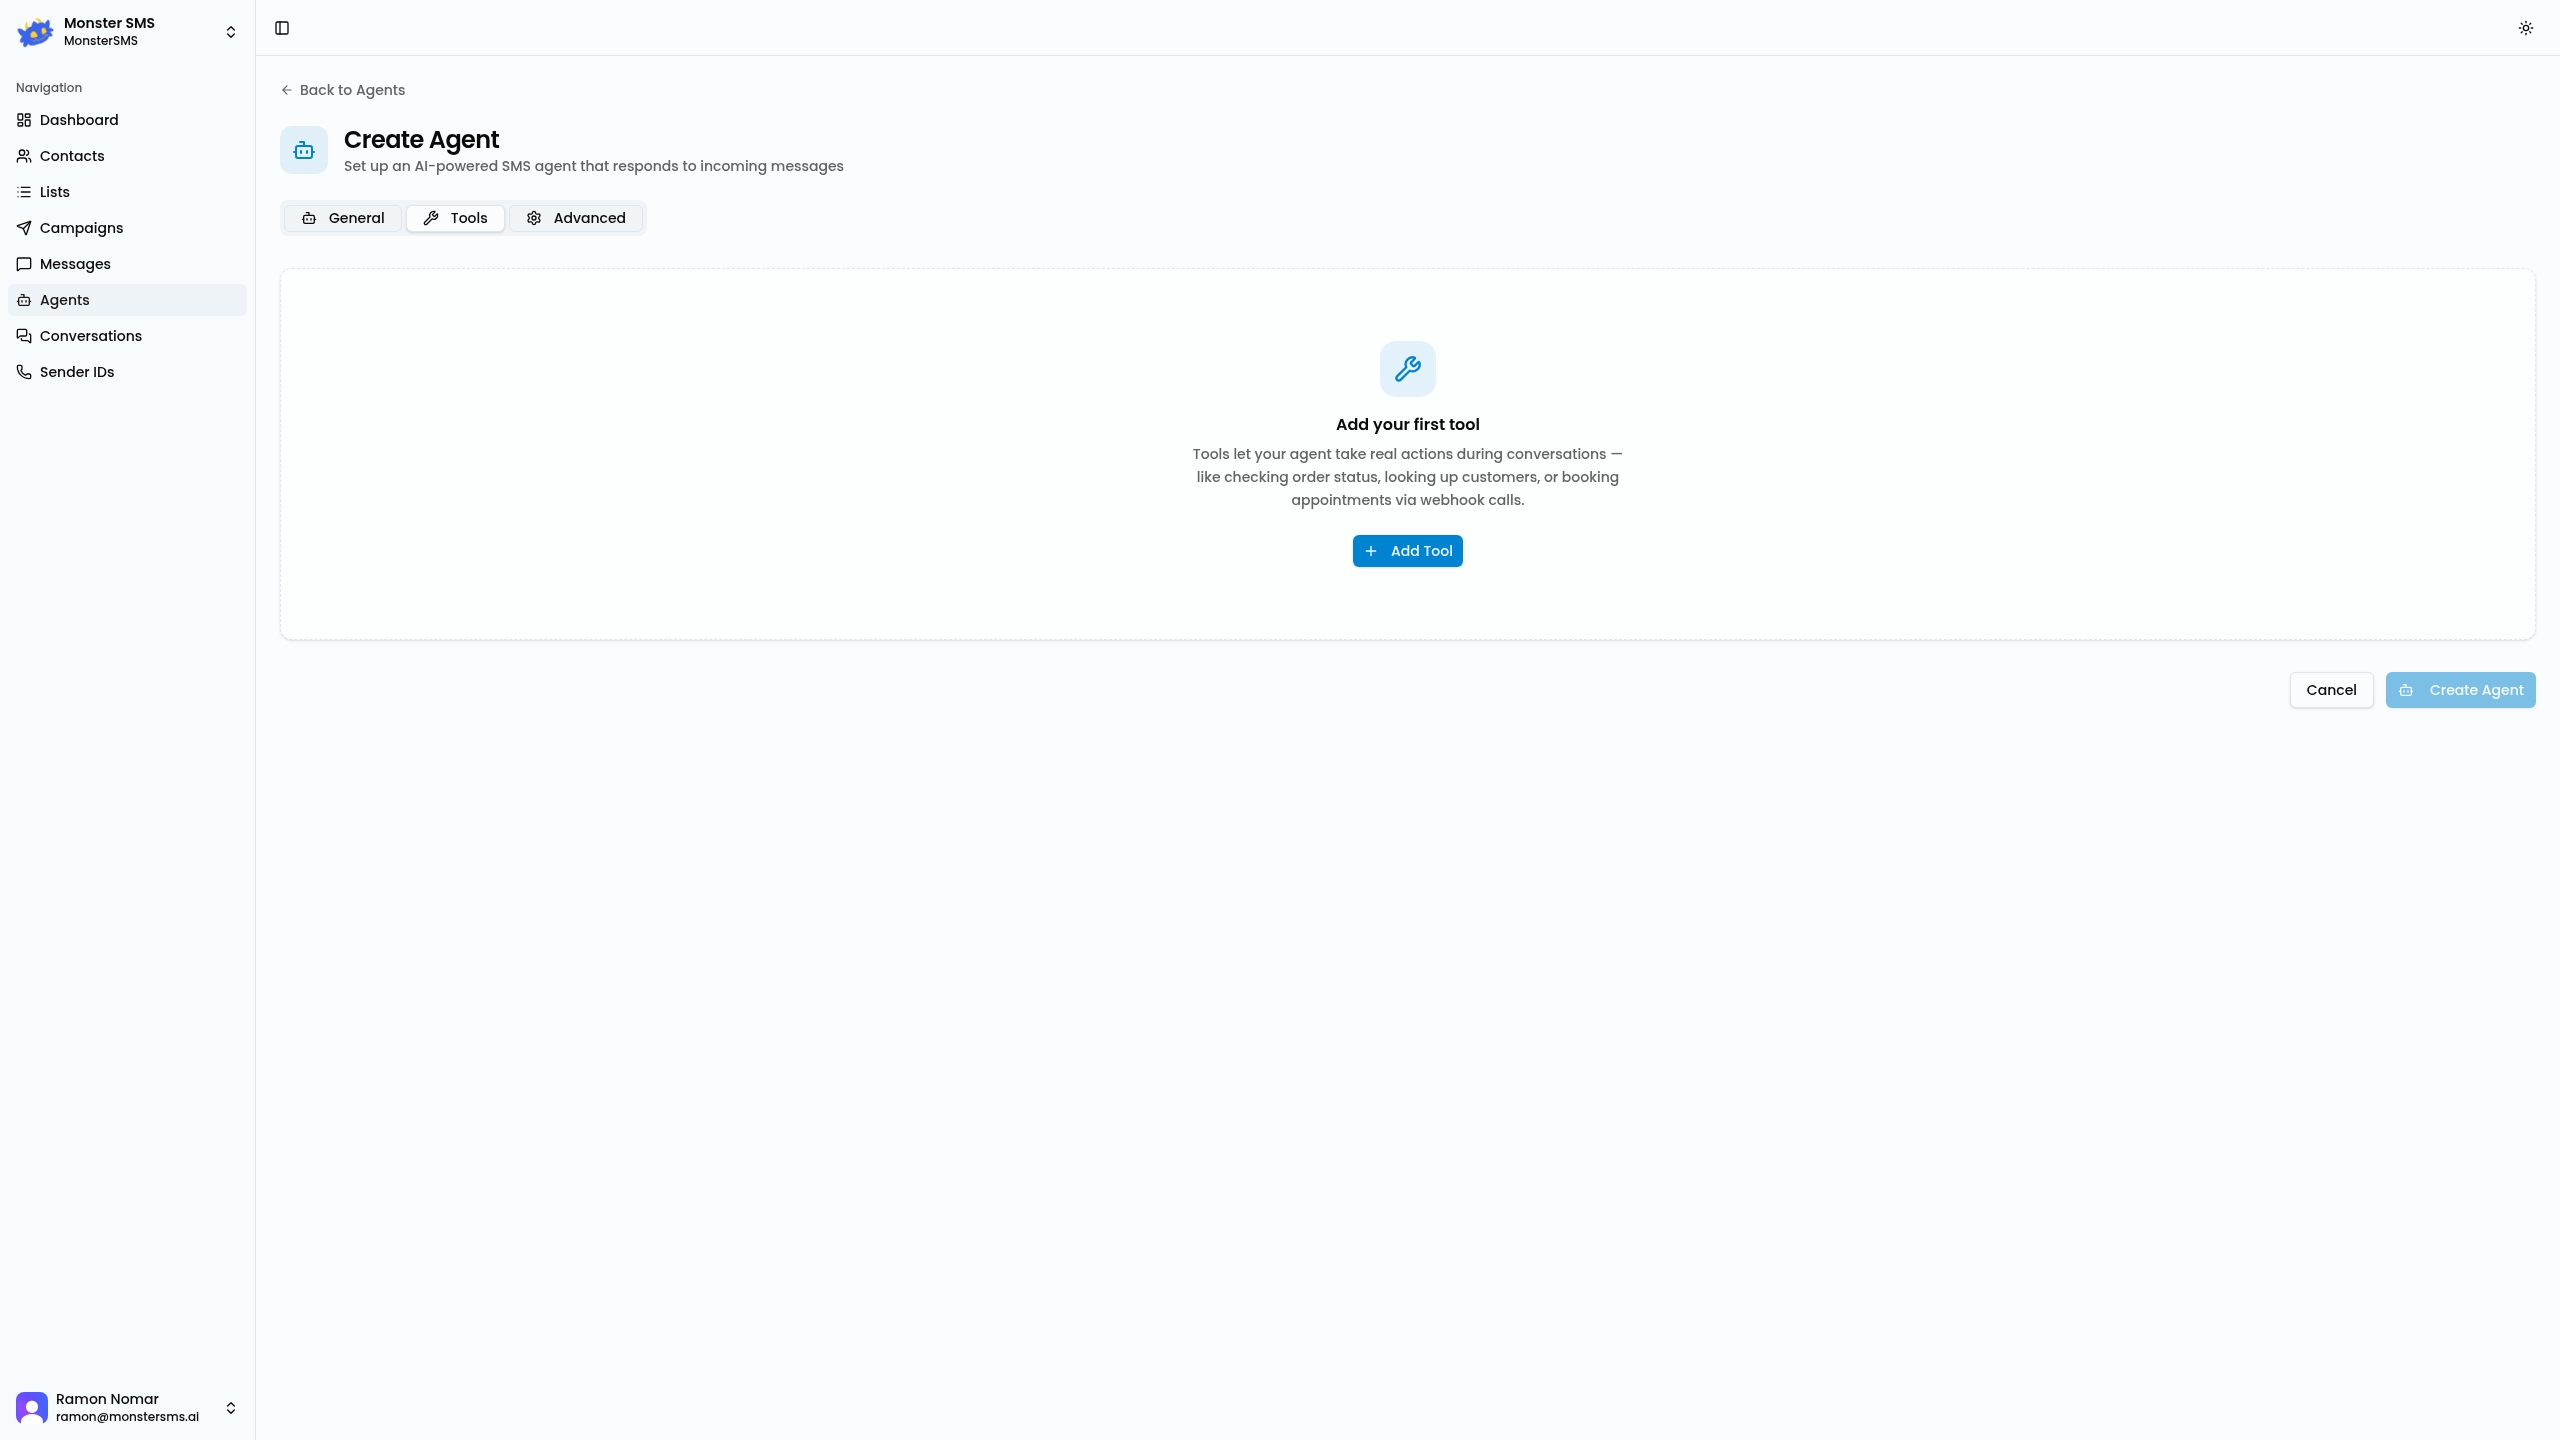
- Web search — Allow the agent to look up information online
- Calendar integration — Connect booking systems
- Custom tools — Webhook-based integrations with your own systems
Step 5: Advanced settings
The Advanced tab gives you fine-grained control:
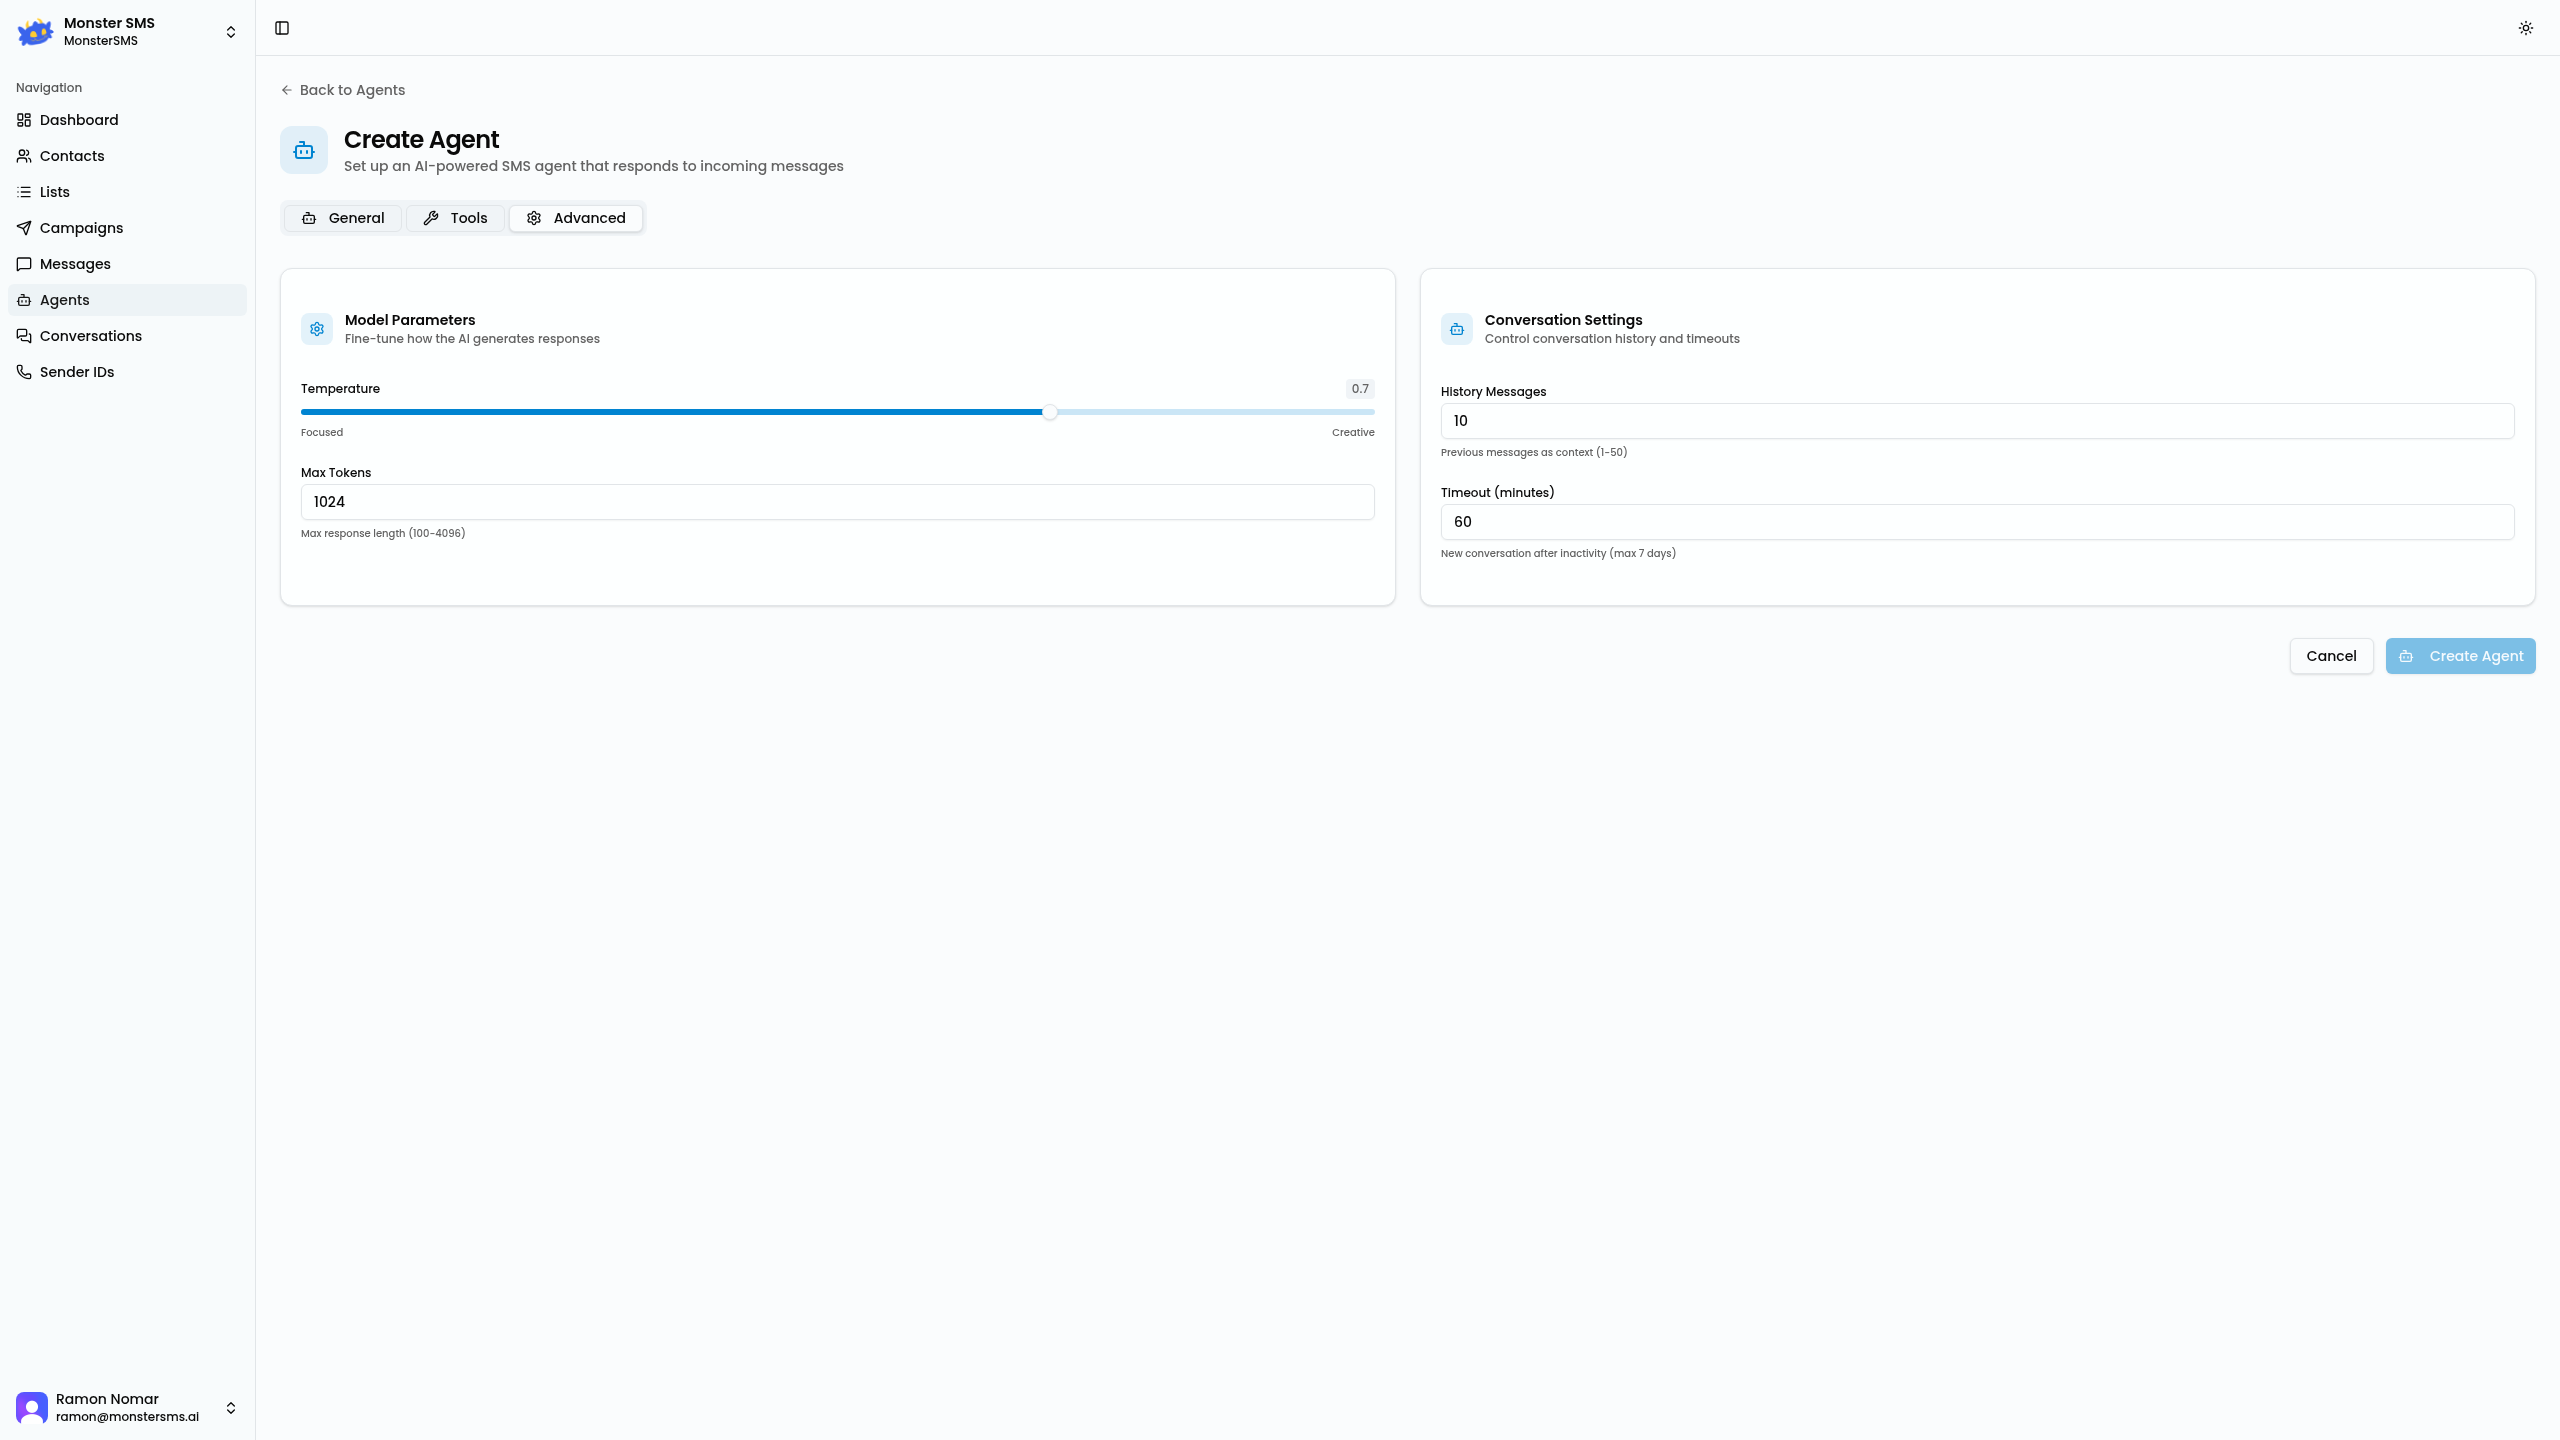
- Temperature — Controls creativity (0 = precise, 1 = creative). Use 0.3–0.5 for business agents.
- Max tokens — Limits response length. 150–250 is ideal for SMS.
- Opt-out detection — Automatically handle STOP requests without the agent replying.
Step 6: Create and activate
Once you're satisfied, click Create Agent. Your agent will be created in Draft status. To activate it, toggle the status to Active from the agents list.
⚠️ Test before activating: Use the test function to send sample messages and review responses before pointing a live number at your agent.
Assigning an agent to a number
To route inbound messages from a specific number to an agent, go to Sender IDs → select your number → assign agent. Any message received on that number will be handled automatically.
Ready to create your first agent?
Set up an AI agent in minutes and let it handle customer enquiries around the clock.
Create an Agent →